How to login securely to a Linux server using SSH keys
The Secure Shell(SSH) is a networking protocol that enables computers to communicate and exchange data. SSH keys enable secure remote login without a password through public and private keys. The private key is kept on the client machine, while the public key is stored on the server machine. Once the ssh client verifies the identity of the ssh server, a secure connection is established. The SSH protocol ensures the privacy and integrity of data exchanged between the two machines using symmetric encryption and hashing algorithms.
This guide uses Ubuntu 22.04.1 LTS(my laptop as the client machine) and a Vultr Ubuntu 22.04 LTS (server machine) to demonstrate the use of the SSH protocol. A summary of what to expect is as shown on the diagram below.

Generating SSH Keys with OpenSSH
OpenSSH ships on Ubuntu 22.04.1 LTS by default. Launch a terminal using Ctrl+Alt+t and follow the following steps:
Create a folder that will store the public and private keys. Create the folder vultrKeyFolder on the root folder using the command
mkdir ~/.ssh/vultrkeysfolder
Check if the folder was created successfully.
ls ~/.ssh/

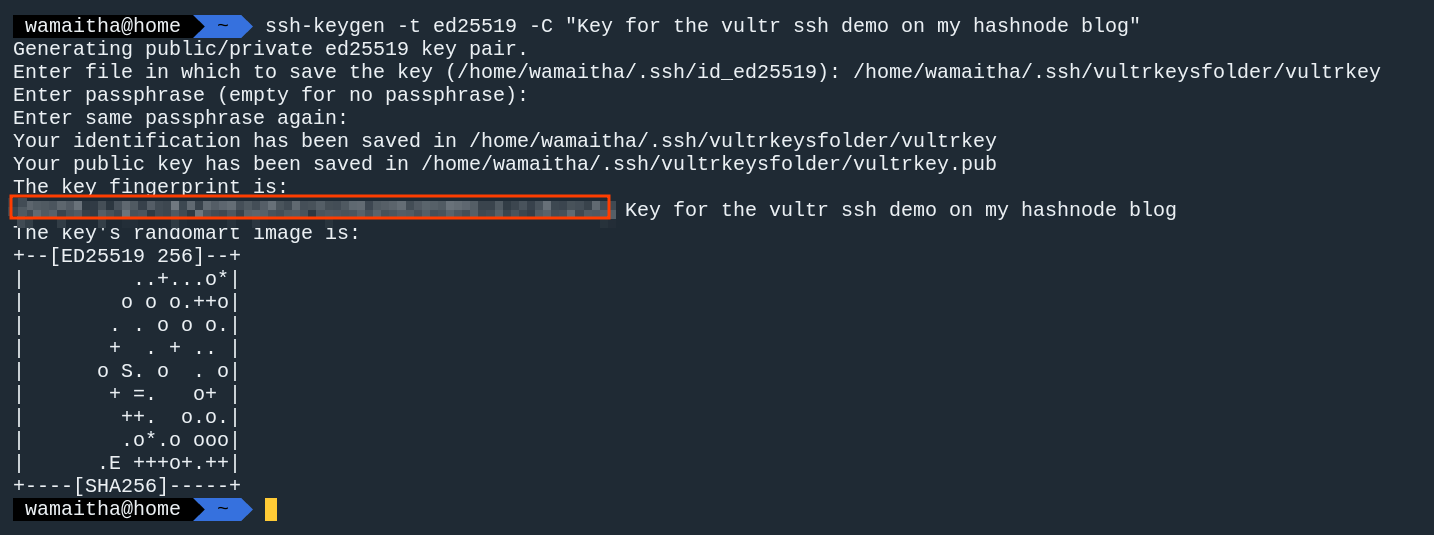
Generate the keys using ssh-keygen. The -t flag specifies the type of key to generate. Options for ssh protocol 2 are dsa, ecdsa, ed25519, rsa, and rsa1. The -C flag stands for comment. Using the ed25519 generate the key using the command below
ssh-keygen -t ed25519 -C "Key for the vultr ssh demo on my hashnode blog"

The output prompts a location to save the key. Save the key on the folder we created on step 1 and give the keys a name; vultrkey for my case.
/home/user/.ssh/vultrkeysfolder/vultrkey

The next step asks for a passphrase. A passphrase protects the private key from someone who doesn't know the passphrase. If an attacker were to get hold of the key, they would not be able to use it without the passphrase. Use an easy-to-remember passphrase. If you do not wish to have a passphrase, press enter. A random art based on the key will be generated on success.
Two files will be generated. The file with the .pub extension is the public key, while the other is the private key. Your private key should always be kept a secret. The .pub key will be used on the server. You can check for the files generated using
ls ~/.ssh/vultrkeysfolder

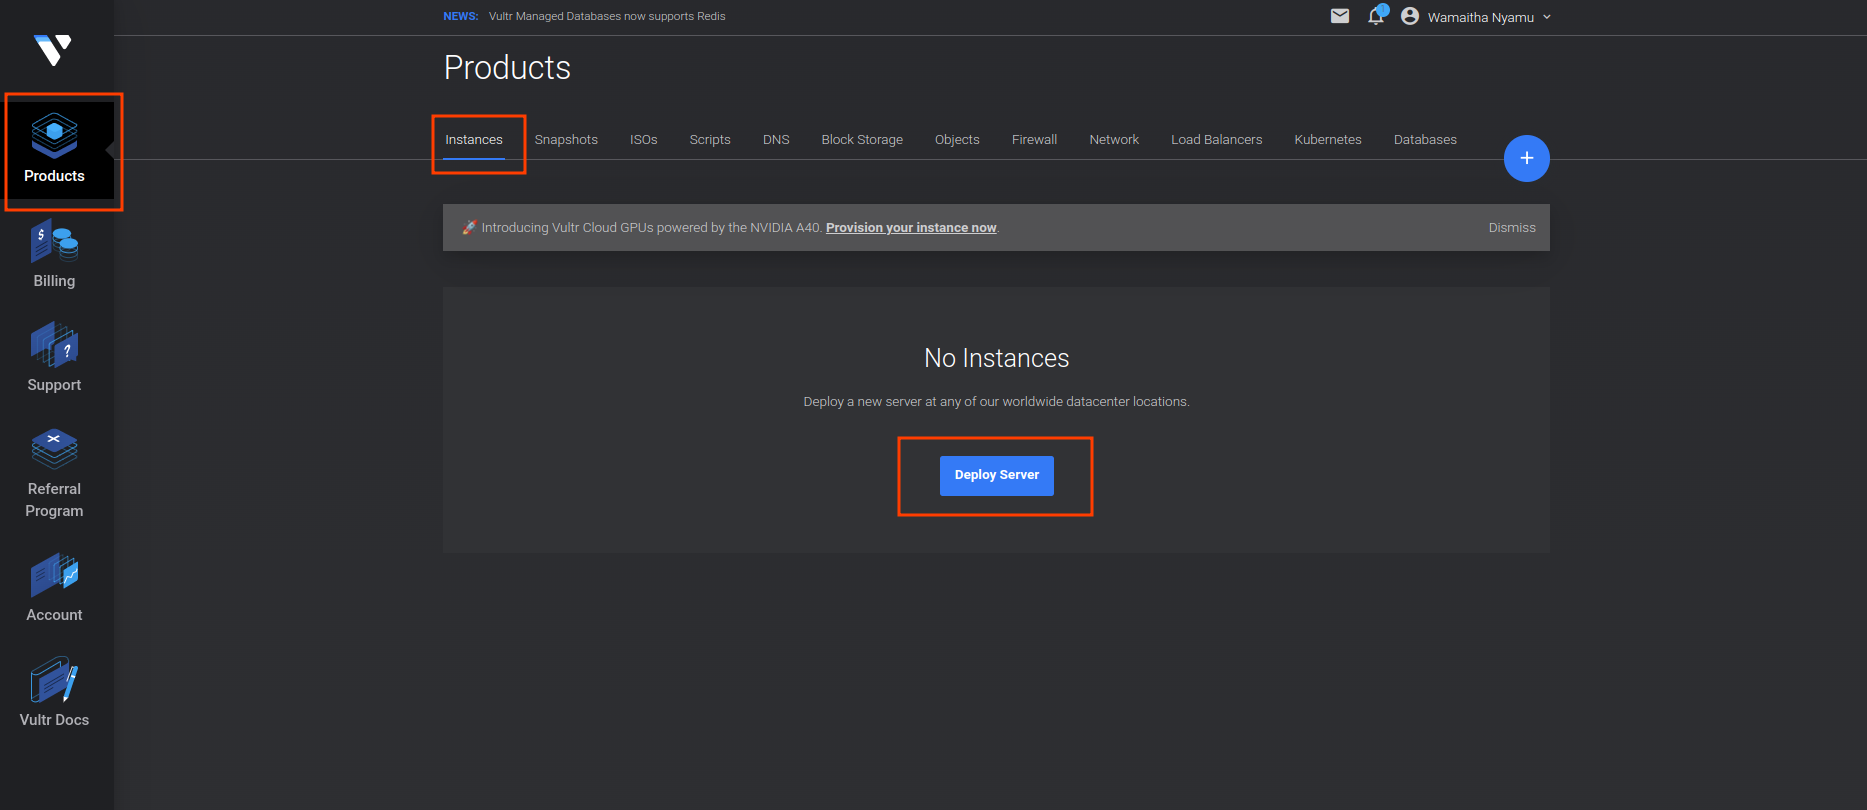
Head over to Vultr and create an account. Get $100 Free to follow along. Click on Products on the left panel. Click on Instances, then click on Deploy Server.
Choose the Cloud Compute shared vCPU and the AMD High Performance option for the CPU & Storage Technology.

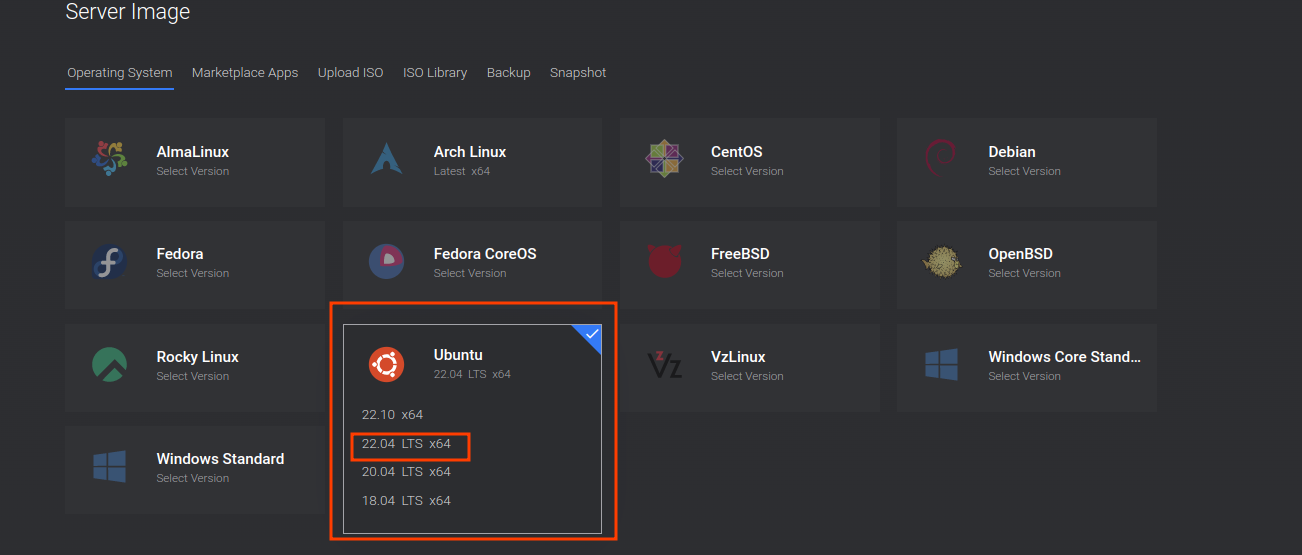
Choose a location that is closest to you. For the Server Image, choose Ubuntu 22.04 LTS x64
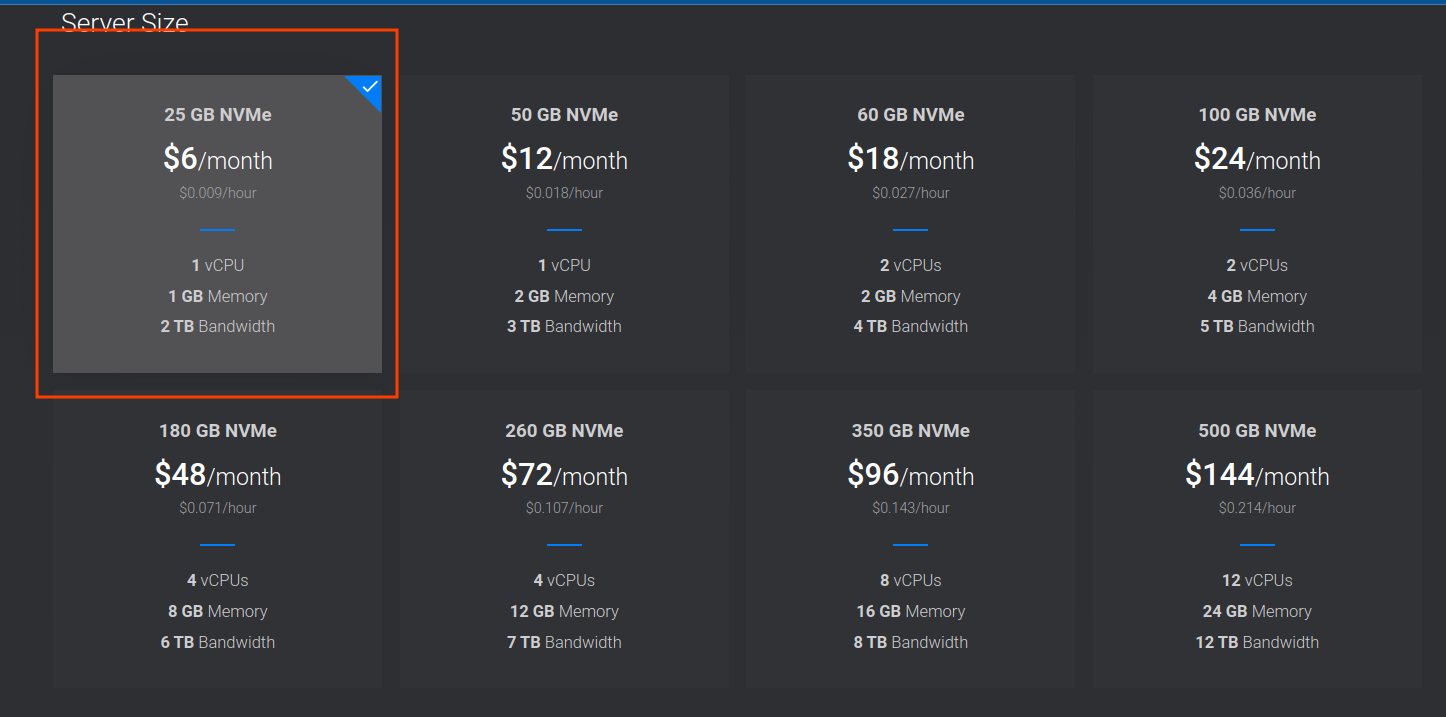
Select the least server size possible; however, you are free to choose whichever configurations that work for you.
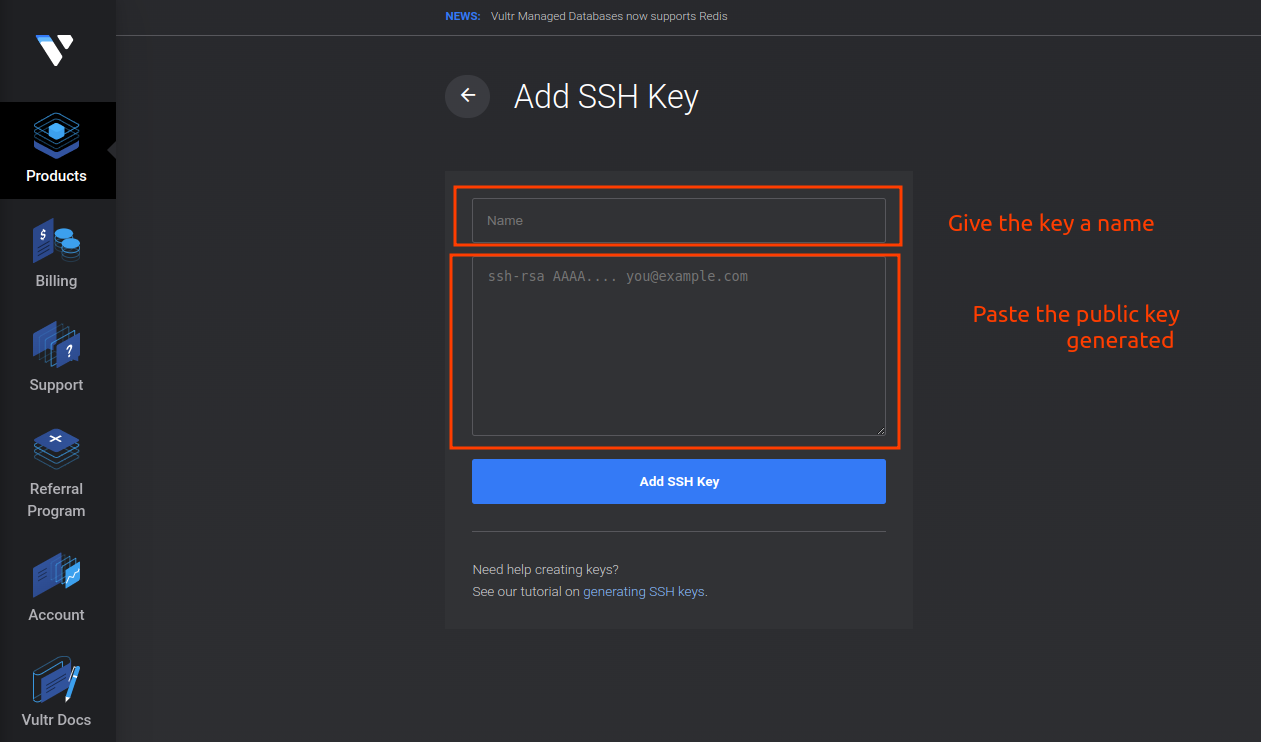
Scrolling down, there is an SSH Keys section. Click on the Add New button.

This opens a new window as shown below
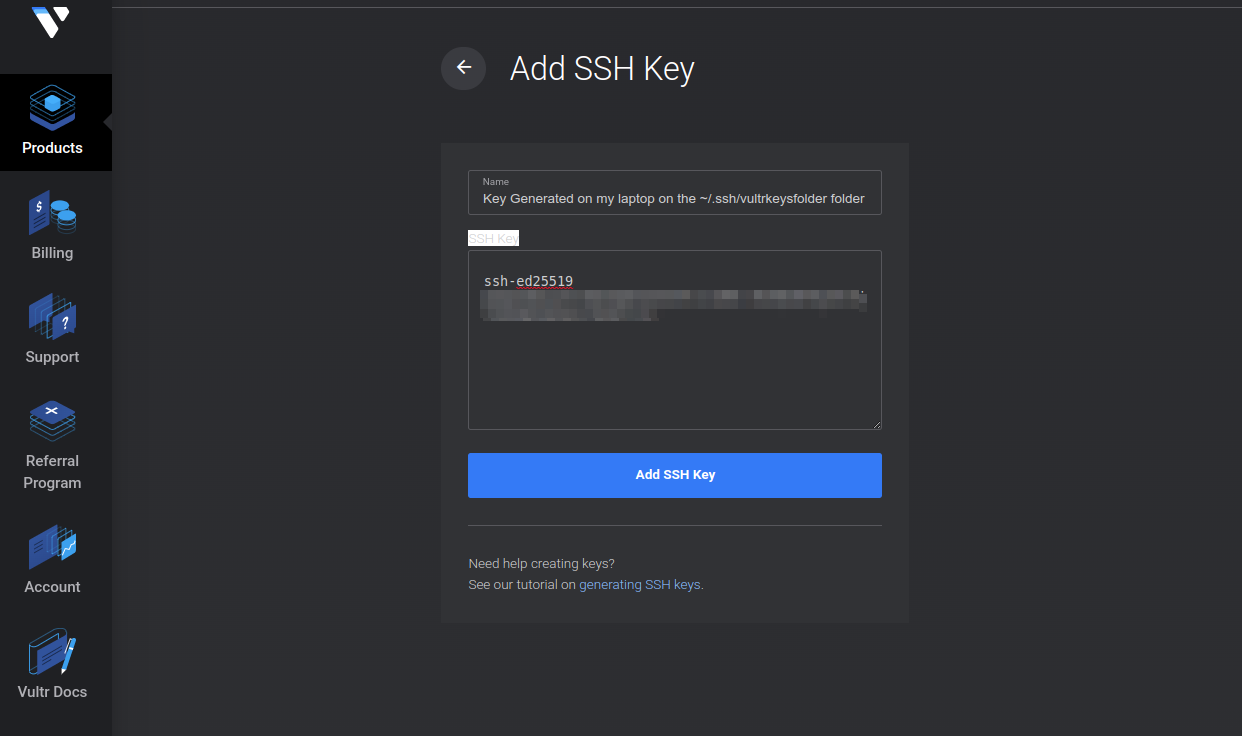
Going back to the terminal and open the file containing the public key using cat .
cat ~/.ssh/vultrkeysfolder/vultrkey.pub
Copy the public key.
 Paste the key on Vultr and click on Add SSH Key.
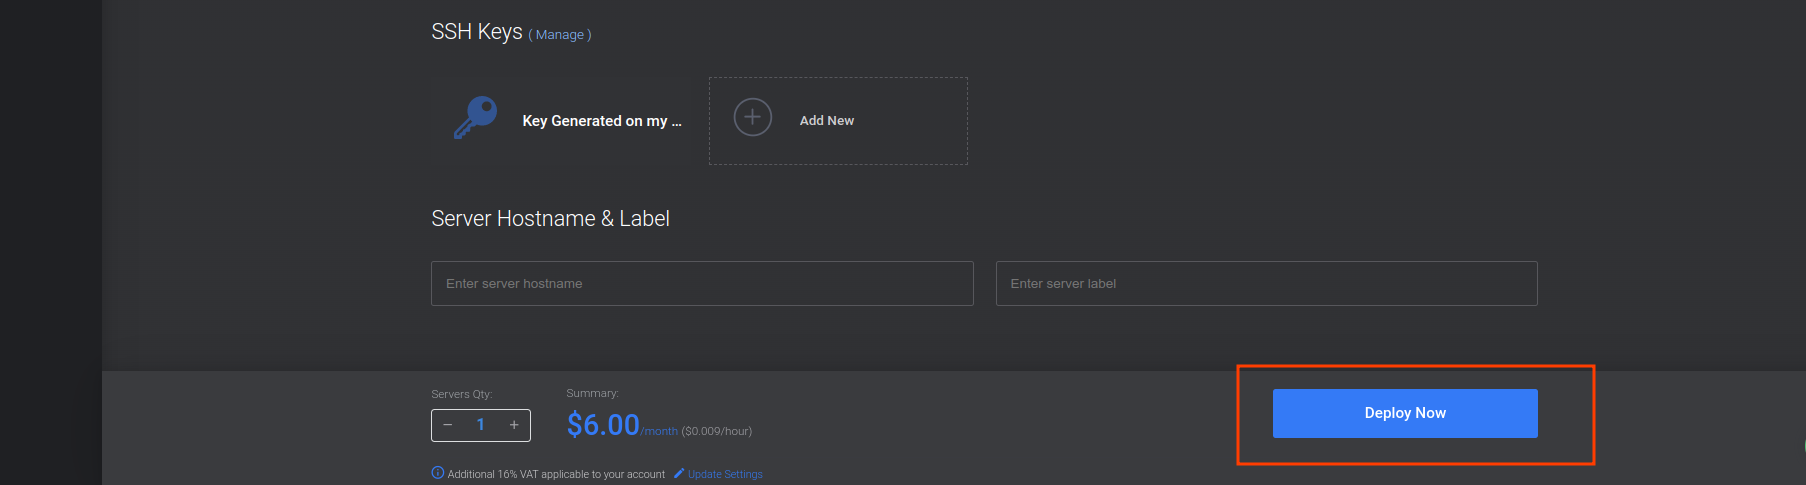
The SSH Keys section will show an added key on the dashboard.

Click on the Deploy Now button to deploy the instance.
Once the instance deploys, the status will change to Running. You may need to give the instance around 10 minutes to boot fully.

Click on the instance and copy the IP Address.
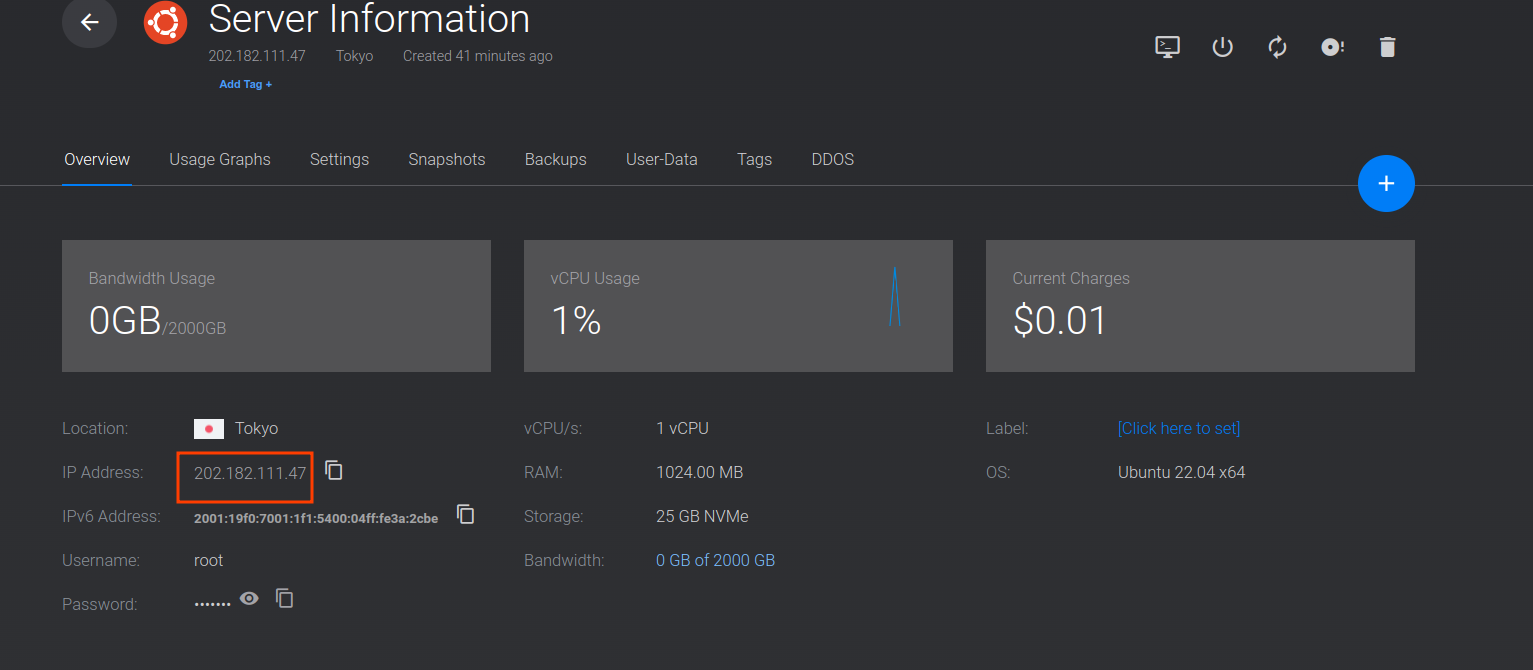
On your terminal connect to the server using the command
ssh -i ~/.ssh/vultrkeysfolder/vultrkey root@202.182.111.47

Answer Yes to the prompt asking if you are sure you want to connect
 Enter your passphrase, and you should be logged in to the Vultr instance.

Resources
https://www.ssh.com/academy/ssh/protocol
https://www.commandlinux.com/man-page/man1/ssh-keygen.1.html